Introduction
Welcome to the Flow of War Guide. This guide explains the game's core mechanics, buildings, units, resources, enemies, and advanced systems to help you build a stronger kingdom and survive increasingly difficult enemy waves.
Use the navigation menu to browse topics, or visit the Tech Tree for a complete overview of all buildings, units, upgrades, and game content.
Win & Lose
Flow of War is a wave defense RTS. Your objective is to survive and defeat every enemy wave.
You achieve victory by clearing all waves in the current match.
You are defeated if your Town Center is destroyed and all of your Workers have been killed.
Controls
Camera
- Left-click an object to view its information.
- Hold the right mouse button and drag, or use W, A, S, D to move the camera.
- Scroll the mouse wheel to zoom the map in or out.
Workers
Workers are fully automated and cannot be controlled directly.
The only manual command available is Retreat, which orders nearby Workers to move to safety.
Units
Military units can be selected and moved by right-clicking.
During combat, units fight automatically and use their abilities without player input.
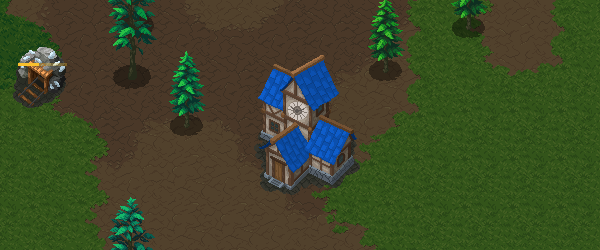
Town Center
The game begins by choosing a location for your Town Center. You are free to place it wherever you think is most effective for your strategy.
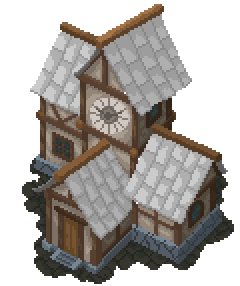
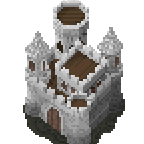
The Town Center is the heart of your base and the most important building in the game. It is where you recruit Workers and receive resources.
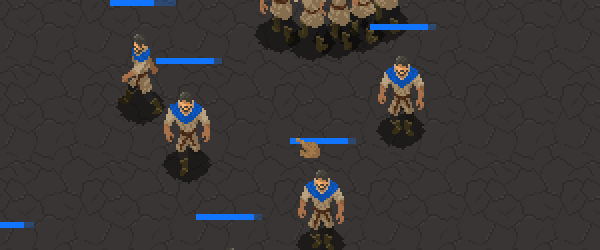
Worker
Overview
Workers gather resources and construct buildings. Unlike in most RTS games, they operate almost entirely on their own. They automatically find suitable tasks, so you rarely need to manage them directly.
Workers are fragile and can be killed easily, so make sure they have a safe area to work.
Fully Automated Workers
Workers operate automatically and choose suitable tasks on their own. As long as you have enough Workers and build an efficient base, they will manage your economy without manual assignment.
Workers use a priority system. Higher priority tasks are always completed before lower priority ones.
- Retreat from danger.
- Construct and repair buildings.
- Harvest accumulating resources, such as Mines, Forges, and Wheat.
- Chop Trees.
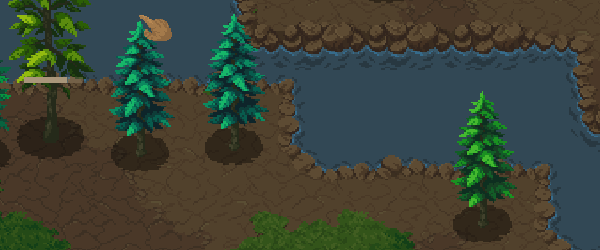
Trees
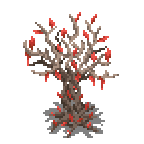
Trees are randomly generated on the map or placed by players in the Map Editor.
Each Tree contains a limited amount of Lumber. Workers automatically chop Trees, collect Lumber, and return it once they have gathered enough.
When natural forests are depleted, you can plant new Trees with the Tree Replant building to support your growing economy.
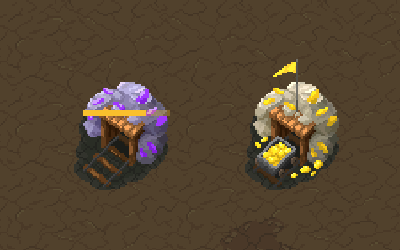
Gold Mine, Iron Mine & Crystal Mine
These resource deposits are generated with the map and cannot be restored.
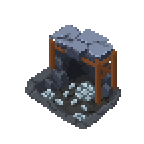
Unlike most RTS games, Mines accumulate resources over time. Once a Mine reaches 50 resources, a nearby Worker within its range will automatically harvest it.
Iron Mines and Crystal Mines produce Iron Ore and Magic Crystals, which are raw materials. These must be refined at a Forge to produce Iron and Magic, the resources used for buildings, units, and upgrades.
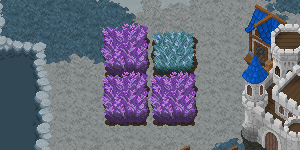
Alternative Resource Sources
Additional resources can also be obtained in other ways:
- Gold can be earned by defeating enemies. Several upgrades increase the amount of Gold gained from enemy kills.
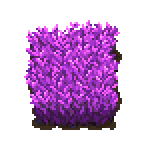
- Magic Crystals can be produced by growing Lavender.
- Iron Ore can be generated by the Undermine building.
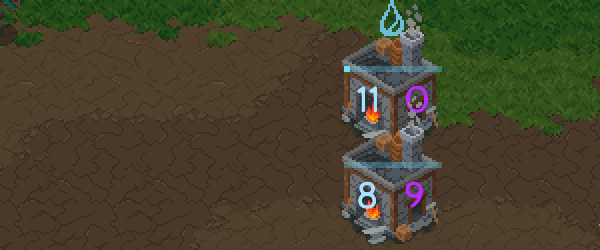
Forge
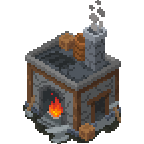
The Forge refines Iron Ore and Magic Crystals into Iron and Magic, which are required for buildings, units, and upgrades.
The Forge can operate without Water Power, but it works much faster when supplied by a nearby Water Tower.
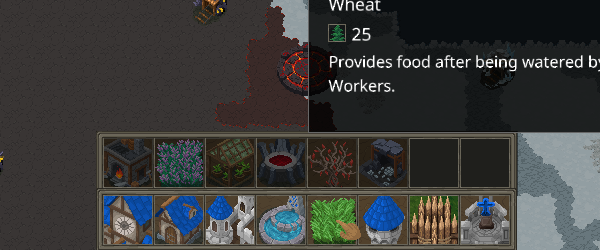
Buildings & Blocks
Every building has a unique purpose. You can find more details in the Tech Tree.
To construct a building, simply select it and choose its location. A Worker will automatically be assigned to build it.
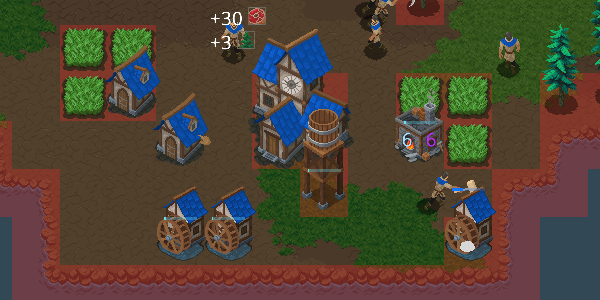
The game uses a block-based system. Buildings, Trees, Gold Mines, and other objects occupy blocks that cannot be crossed. Workers and units can only move through open blocks.
Plan your base carefully to keep paths open. This is especially important for buildings that require Worker access, such as Wheat Farms.
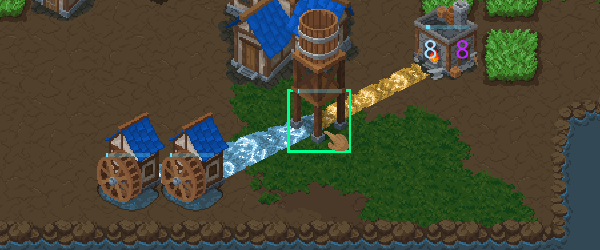
Water Power
Water Power automates buildings that require mechanical power.
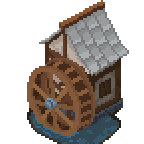
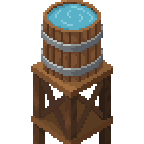
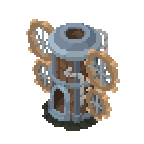
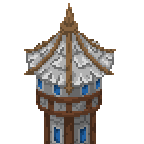
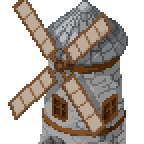
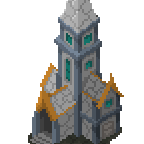
Water is collected by Water Wheels placed on rivers, stored in Water Towers, and then supplied to nearby buildings.
Buildings receive Water Power automatically as long as they are within the range of a Water Tower. No pipes or manual connections are required.
Upgrades
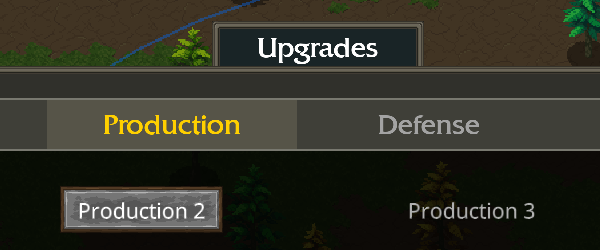
Open the Upgrade Menu by pressing E or clicking the button in the bottom-left corner.
The Upgrade Menu is divided into four categories, each with four tiers.
Unlocking a new tier grants access to new buildings and additional upgrades.
Resource Exchange
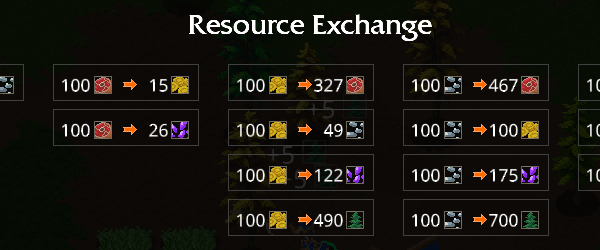
Open the Resource Exchange menu by pressing T or clicking the button in the bottom-left corner.
Trade one type of resource for another.
Because some resources are rarer than others, not every resource can be exchanged for every other type.
Gold and Iron are the most valuable resources because they can be exchanged for any other resource.
Unit Cap
Unit Cap is the maximum number of Workers and military units you can recruit.
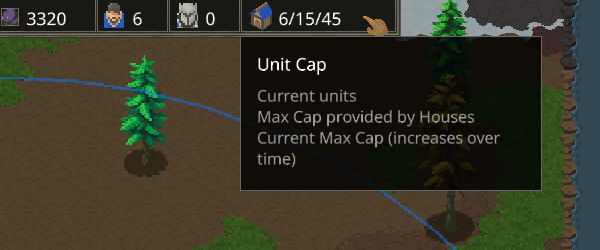
Hover over the Unit Cap display at the top center of the screen to view the following values:
- Current Units – The total number of units you own, including those currently being trained.
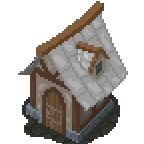
- House Capacity – The maximum number of units supported by your Houses. You start with 5 Unit Cap, and each House provides anb additional 10.
- Current Max Cap – The global Unit Cap limit. Although the maximum possible cap is 200, it increases gradually over time instead of being available from the start.
This system prevents players from building a massive economy too early in the game.
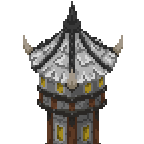
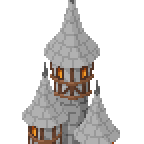
Towers
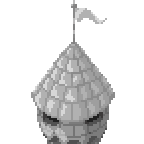
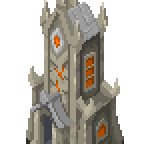
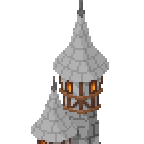
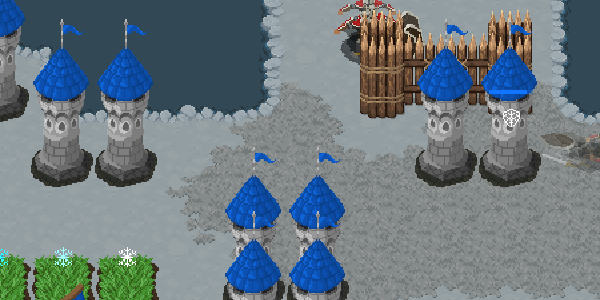
Towers are the backbone of your defenses. They provide excellent firepower for their cost, but because they are stationary, they cannot cover every approach.
Towers can be upgraded throughout the game, and you may also discover rare Towers with unique abilities.
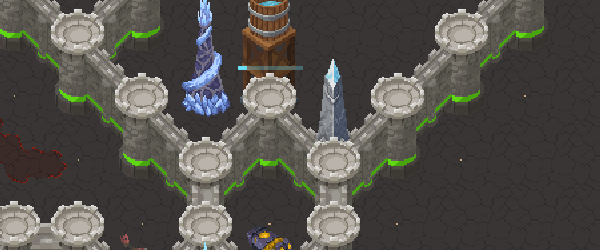
Walls
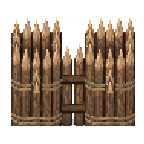
Walls protect your base by sealing off key areas and limiting enemy paths.
They can also block most ranged attacks, making them extremely effective against ranged enemies, except Catapults.
Walls can be upgraded through the Upgrade Menu.
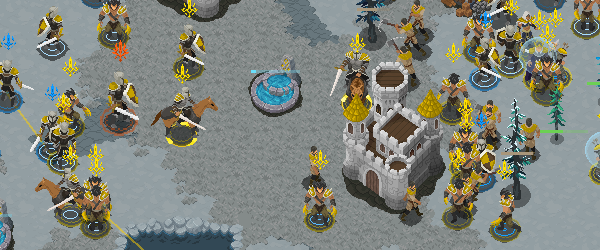
Units
You can recruit military units to defend your base.
Units are generally less cost-effective than Towers, but they are mobile and can quickly deal with dangerous ranged enemies.
Every unit belongs to a Barracks. Right-click to set a Rally Point, and newly trained units will automatically gather there.
Units can also be moved at any time by right-clicking.
During combat, units fight automatically and use their abilities without player input.
Combat Behavior
Every unit has its own combat behavior. For example, Crawlers prioritize ranged enemies, while Rangers attack while retreating to keep their distance.
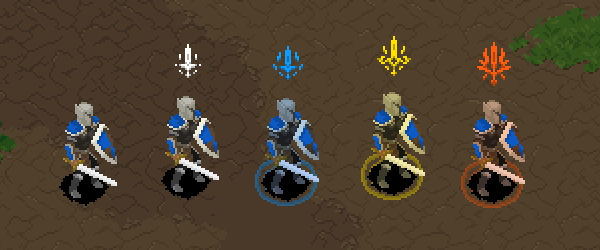
Unit Ranks
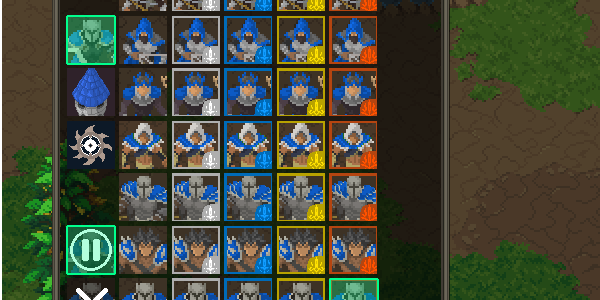
Units have five ranks, shown by the icon above them:
- No Icon
- White
- Blue
- Gold
- Orange
Rank 4 and Rank 5 units gain 1–3 additional abilities.
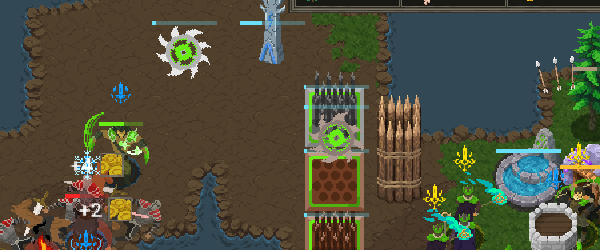
Traps
Traps are special defensive structures designed to damage or disrupt enemy units.
Unlike most buildings, Traps cannot be destroyed by enemies.
Traps require Water Power supplied by a nearby Water Tower to operate.
Traps cannot be built normally. They can only be obtained from Chests, the Gambler, or the Arcane Shop.
Discoveries
During a match, you can normally build Towers and recruit standard Units.
More powerful rare Towers, elite Units, and other special content can only be discovered through Chests, the Gambler, and certain special buildings.
These discoveries provide new strategic options and become increasingly important during the mid and late game.
Wave Attacks
The main objective of the game is to survive enemy waves. Defeat every wave to achieve victory. You lose if your Town Center is destroyed and you have no Workers remaining.
Depending on the game mode and settings, each match contains a series of waves that become progressively stronger over time.
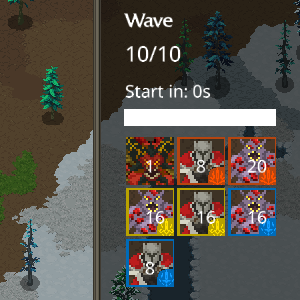
Before each wave begins, the game displays a countdown and the number of enemies in the upcoming attack.
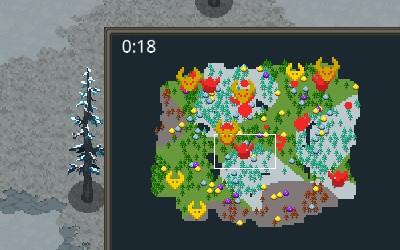
You can also use the Minimap to see which Attack Points are active. Click an Attack Point to view how many enemies will spawn there.
Thirty seconds before a wave starts, you will receive a warning and a countdown. This is a good time to prepare your defenses, build additional Towers, or recruit more units.
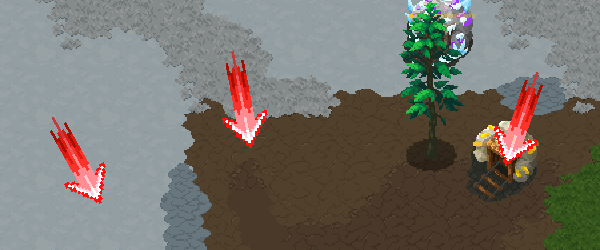
Red arrows indicate the enemy attack directions. They show where enemies enter the map, while their actual path depends on the terrain and how you build your Walls.
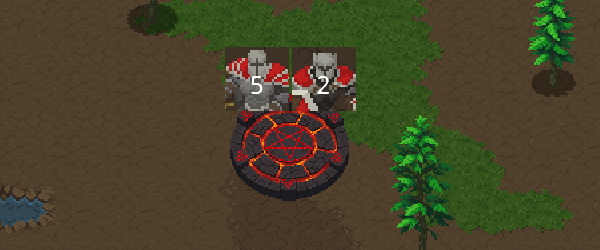
Attack Points
Attack Points are the locations where enemy waves spawn.
Each map contains multiple Attack Points, and the active spawn locations are selected randomly for every wave.
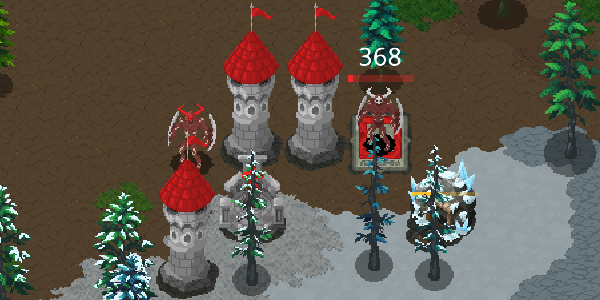
Creep Locations
Creep Locations periodically spawn enemy units. Once enough enemies have gathered, they will launch an attack on your base.
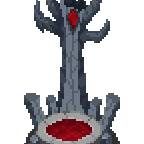
Every Creep Location begins with an enemy Altar. Destroy it and build your own Altar to capture the location.
Once captured, the Creep Location will begin producing units for your side.
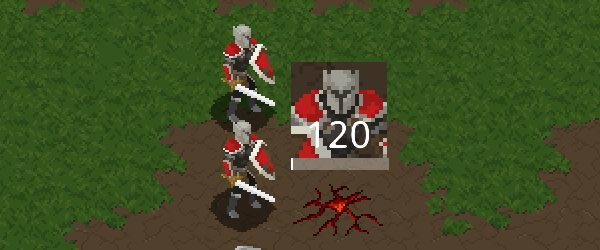
Natural Creeps
Natural Creeps also spawn over time, but unlike Creep Locations, they cannot be captured.
Their attacks are usually weaker, making them less dangerous than enemy-controlled Creep Locations.
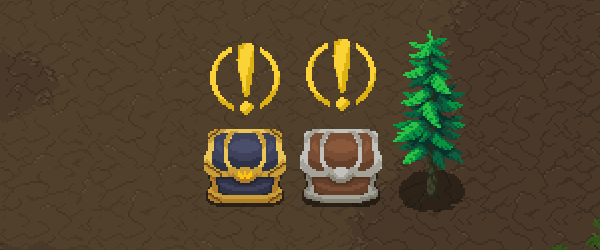
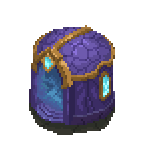
Chests
At the start of the game, you receive 1–2 Chests. Every minute, a Chest opens and offers three rewards, which may include units, Towers, Traps, or resources.
Chests provide a steady source of rewards throughout the game, helping you strengthen your defenses and expand your economy.
As the game progresses, you can obtain additional Chests. During the mid and late game, multiple Chests may open at the same time, allowing you to collect elite units, rare Towers, and Traps for the toughest enemy waves.
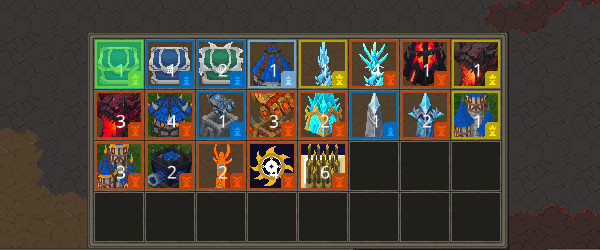
Item System
Items allow you to obtain Units, Towers, Traps, Resource Packs, and even additional Chests.
In addition to the standard Units and Towers that can be trained or built normally, you can also collect rare Units, special Towers, and unique Traps.
The game features over 130 collectible items.
Item Sources
- Chests
- Gambler
- Arcane Shop
Receiving Items
- Unit items spawn next to their assigned Barracks.
- Towers, Chests, and Chest Boxes are stored in the Special Box. Press Q to open it and place them anywhere you choose.
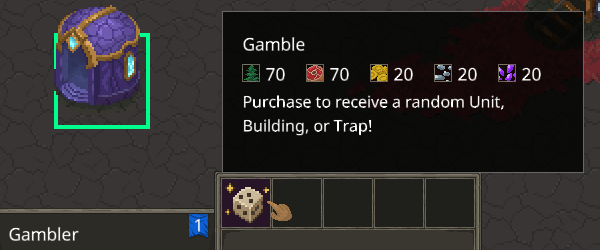
Gambler
Spend resources at the Gambler for a chance to receive a random reward.
Rewards may include Units, Towers, Traps, Resources, and other valuable items.
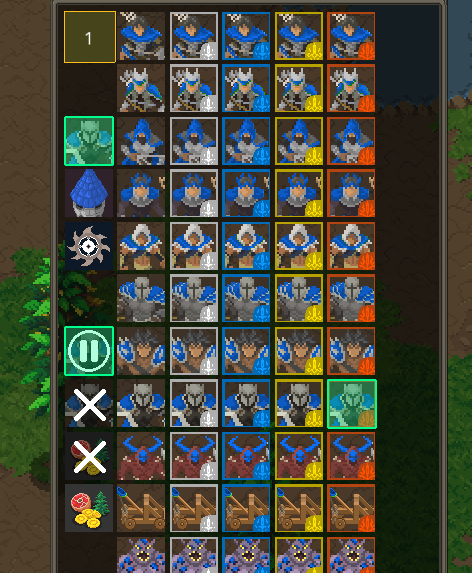
Unit Tester
The Unit Tester lets you instantly spawn Units, Towers, and Traps, even while a match is in progress.
Use it to test strategies, create custom battles, or experiment without building an economy.
The Unit Tester is disabled by default. Enable it in the Settings menu, then press H during a game to open it.
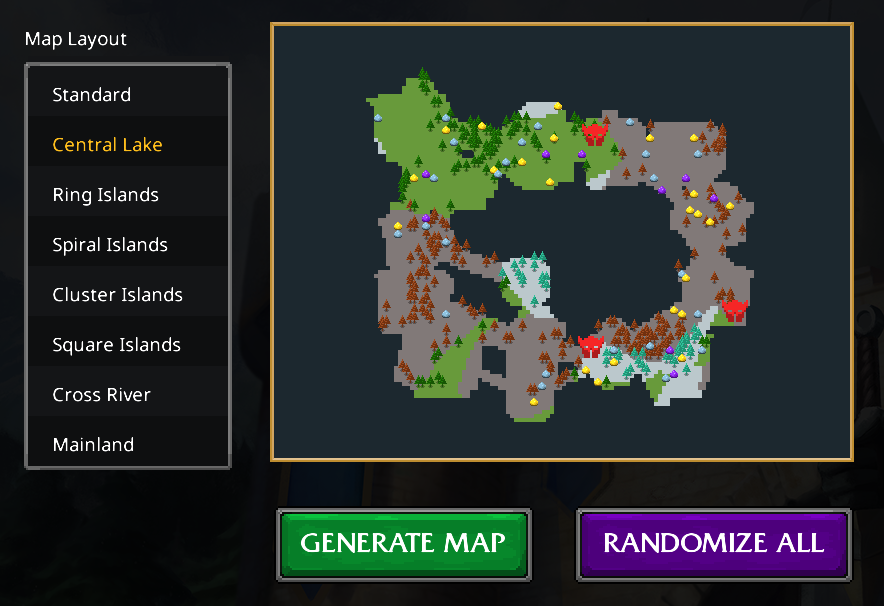
Procedural Maps
Procedural Maps generate a new battlefield every match, ensuring that no two games are exactly the same.
Choose from eight map layouts, each available in multiple sizes.
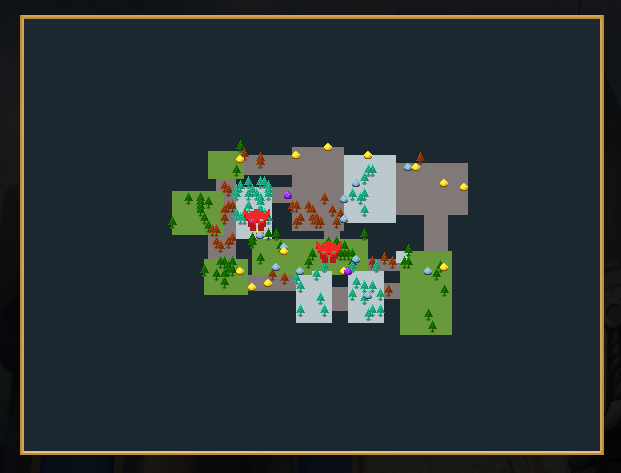
Tiny Maps
Tiny Maps offer a much greater challenge than larger maps due to their limited building space.
Every building placement matters, making efficient base planning and defense far more important.
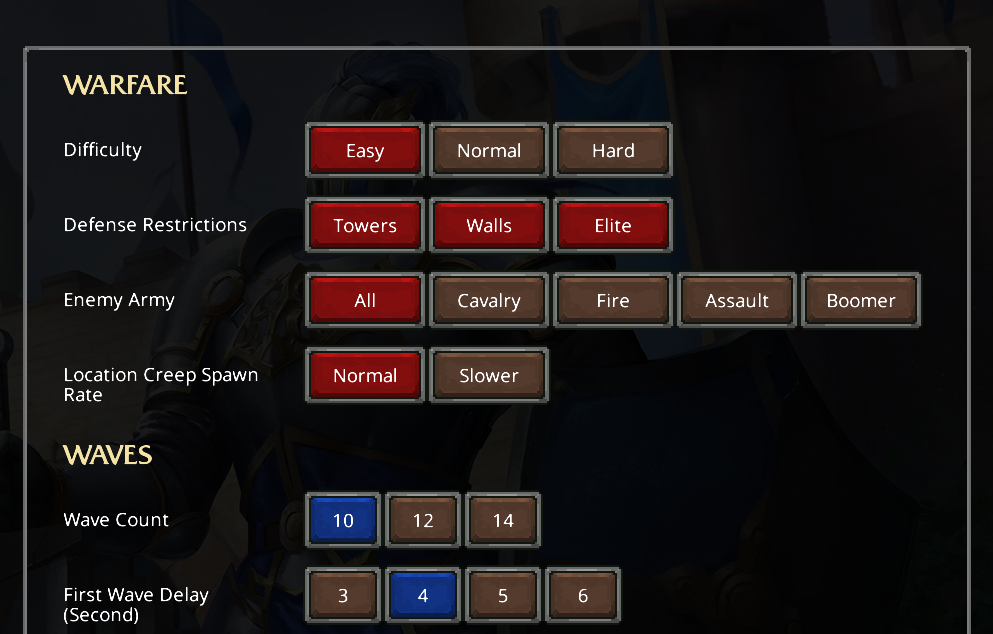
Random Map Settings
Customize resource availability, reward rates, and wave timing to create the experience you want.
Enable special enemy modifiers to focus each match on a specific enemy type, such as explosive units or long-range siege attackers.
You can also enable optional challenge rules, including:
- No Towers
- No Walls
- No Military Units
These settings can make the game either more relaxed or significantly more challenging, making them suitable for both casual players and experienced players looking for a greater challenge.
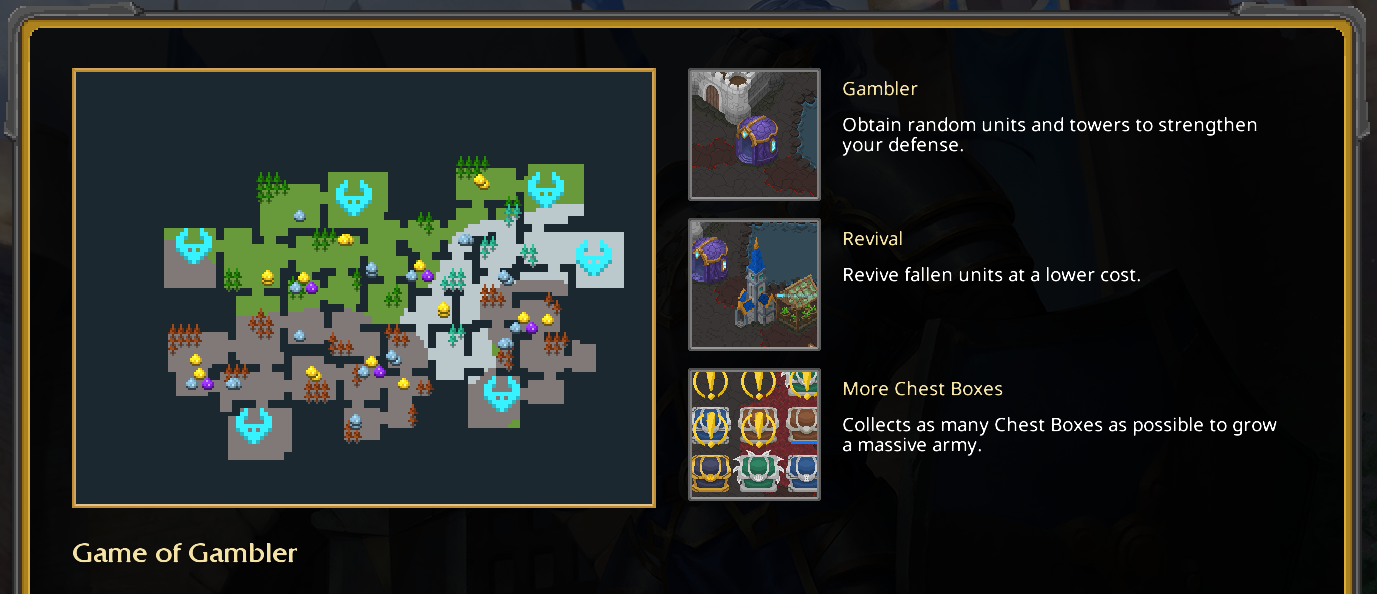
Campaign
Flow of War features 30 handcrafted Campaign missions, designed to gradually introduce new Units, Buildings, Towers, and game mechanics.
Campaigns are arranged from easy to challenging, allowing new players to learn the game step by step.
Detailed information for each Campaign mission is available in-game.
Difficulty
Easy, Normal, and Hard difficulties change the number of enemies that attack in each wave.
Detailed information for this section will be available soon.